Lambda Sensor fault-finding helps deliver outstanding customer service

Since the first European emission standards were introduced in 1992, Lambda Sensors have become one of the most important parts of the engine for motorists and manufacturers across the continent. Stricter regulations have been introduced since and motorists are more environmentally-aware than they have ever been.
As a result, the maintenance of essential car parts which can optimise those emissions is now a vital part of a technician’s skillset.
As a technician, it is best practice to act preventatively where possible: stopping any problems before they become an even bigger issue. This is even more important when dealing with Lambda Sensors, an advanced part which impacts upon the entirety of the Engine Management System.
Technicians should keep in mind the warning signs of a faulty Lambda Sensor – these could be flagged by the motorist themselves or through a diagnostic check. Typical symptoms include a high fuel consumption, rough engine running, poor emissions performance or simply via the Diagnostic Trouble Code (DTC).
![]()
Image showing a sensor contaminated by silicon.
To be as proactive as possible, performing a Systematic Diagnosis can help provide a near full-proof service and routinely identify any Lambda Sensor defects:
1. Check service history
A first course of action should be checking for components that may have been replaced in the last service or incorrectly fixed. Also check if any connections were not refitted, or if the wrong parts have been used. Pay particular attention to anything which could affect Lambda Sensors, including EGR valves, fuel injectors and exhausts.
2. Visual inspection
Check under the bonnet for any exhaust leakage. This process takes little time, but could potentially save hours.
3. DTCs
Check for Diagnostic Trouble Codes if this was not done before.
4. Live tests
Check the exhaust system for leakage, and then check the sensor heater by measuring the resistance at room temperature to exclude an open or short circuit. Next, perform live tests to measure the signal of the 02 sensor only. Pay attention to the time it takes for the signal to give a reliable high-low oscillating signal and check if the min-max values are adequate. Finally, do not forget to consider a faulty heater current supply from the ECU, which can be measured during a cold start.
5. Sensor inspection
The tip of the sensor should be a dull grey in colour. If discoloured to red, it may signify a contamination by fuel additives which can block the sensor and prevent it from functioning properly. In addition, check for damage to wires and connectors to the EMS system and look out for signs of water intrusion.
6. EMS inspection
Check other parts of the EMS, including MAF Sensors, the thermostat and fuel injectors for any exhaust leakage.
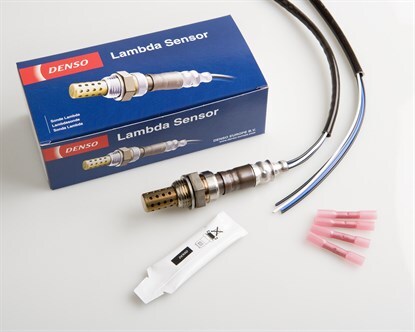
Correct fault finding should end with the correct repair. In the case of a sensor replacement, make sure to select an OE quality sensor that matches DENSO’s vehicle recommendations and to install it by following the correct procedures.
Find out more
Further details of DENSO’s product range are available online at www.denso-am.eu, on TecDoc or from your local DENSO Aftermarket sales contact.


